Dominos Thin Crust Pizza

Dominos Thin Crust Pizza

We show how to make a restaurant-quality thin crust pizza at home in just a few minutes. Since the method first circulated on March 2, 2015, home cooks have relied on this approach to beat the usual wait time for delivery.

Our recipe focuses on fast preparation and smart baking so you spend less time waiting and more time eating. We use fresh cheese and a bright sauce to lift each bite and create a crisp crust that rivals professional kitchens.

The process is efficient: a short prep window and quick oven time deliver a crispy crust pizza without complicated steps. This guide saves time while giving you control over toppings and flavor.

Follow our step-by-step tips to master handling, baking, and timing. We promise a satisfying result that makes staying in just as rewarding as ordering out.

The Appeal of Homemade Dominos Thin Crust Pizza

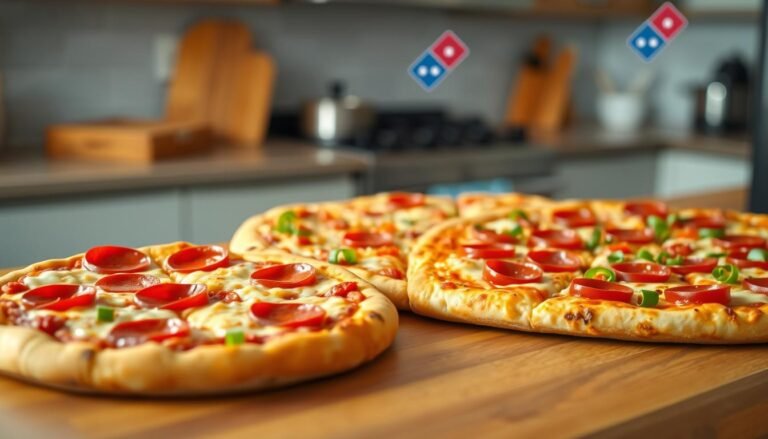
Crisp, paper-thin bases made without yeast give home cooks fast, restaurant-grade results. We get a cracker-crisp texture by skipping yeast in our dough. That lack of rise keeps the base firm and snap-worthy.

Unlike many delivery pies that arrive soft or soggy, our thin crust method guarantees a consistent crunch with every bite. We also gain full control over ingredients, so flavors stay bright and clean.

  • Quicker prep and no rise time saves real time.
  • Multiple pizzas can be ready in under 30 minutes.
  • Simple technique yields a professional thin crust pizza finish.

A detailed, mouth-watering close-up of a homemade Domino's thin crust pizza, showcasing a perfectly baked, golden-brown crust crisped to perfection. The pizza is topped with vibrant, fresh ingredients—rich tomato sauce, gooey melted mozzarella cheese, slices of pepperoni, and colorful bell peppers. In the foreground, the pizza sits on a rustic wooden table, with a pizza cutter and a sprinkle of herbs artistically placed beside it. The middle ground features a soft-focus kitchen setting with warm ambient lighting streaming through the window, highlighting the inviting atmosphere of a home kitchen. The background is subtly blurred, suggesting a cozy home environment. The mood is cheerful and appetizing, inviting viewers to indulge in a slice of homemade comfort food.

Feature Home Method Typical Delivery
Crispness Cracker-like, steady crunch Often softer after transit
Prep Time Under 30 minutes Variable wait and travel time
Ingredient Control Full control, fresh toppings Quality can vary by store

Essential Ingredients for Your Thin Crust Pizza

Choosing the right pantry staples sets the stage for a reliably crisp crust every bake. We favor a tight list of ingredients so the dough and sauce perform predictably. Keep measurements precise and ingredients fresh for best results.

Selecting the Right Flour

We recommend 1 1/4 cups of all-purpose flour as the primary ingredient for our dough. All-purpose gives the right protein level to form a sturdy, thin base without toughness.

  • Use measured flour for consistent results.
  • Add a splash of olive oil and a touch of light corn syrup to get a cracker-like texture.

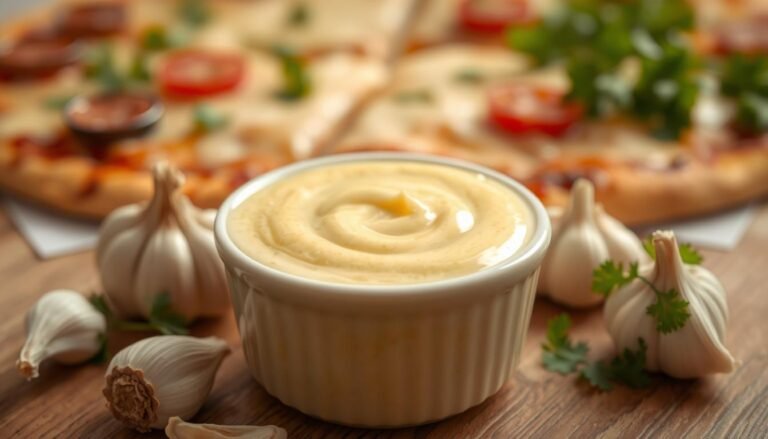
Preparing the Flavorful Sauce

For sauce, combine 3 tablespoons of tomato paste with finely chopped tomatoes to cut water content and build rich layers of flavor. Season simply with salt, a little garlic, and a pinch of oregano.

Top with 1/2 cup fresh mozzarella for the ideal melt. Fresh cheese blends with the sauce and highlights your chosen toppings, like sliced Roma tomatoes.

A vibrant and mouthwatering display of thin crust pizza ingredients arranged artistically on a rustic wooden table. In the foreground, showcase fresh basil leaves, sliced ripe tomatoes, and a sprinkle of mozzarella cheese, glistening in natural light. In the middle ground, include a golden-brown thin crust pizza base, partially topped with rich tomato sauce and various colorful vegetables like bell peppers and onions. In the background, hints of kitchen utensils, such as a rolling pin and a pizza cutter, evoke a warm, inviting cooking atmosphere. Soft, diffused lighting enhances the textures of the ingredients, creating a cozy and appetizing mood. Capture this scene from a slightly overhead angle, focusing on the vibrant colors and textures that highlight the essentials of a perfect thin crust pizza.

Ingredient Amount Role
All-purpose flour 1 1/4 cups Structure for thin, crispy base
Tomato paste + chopped tomatoes 3 Tbsp paste + tomatoes Thick, flavorful sauce layers
Fresh mozzarella 1/2 cup Melty finish and creamy texture

Mastering the Dough and Baking Process

A few precise moves with the dough and the right oven heat turn a simple base into a reliably crisp bake. We focus on shape, heat, and timing so each slice stays thin and crunchy while the cheese melts golden.

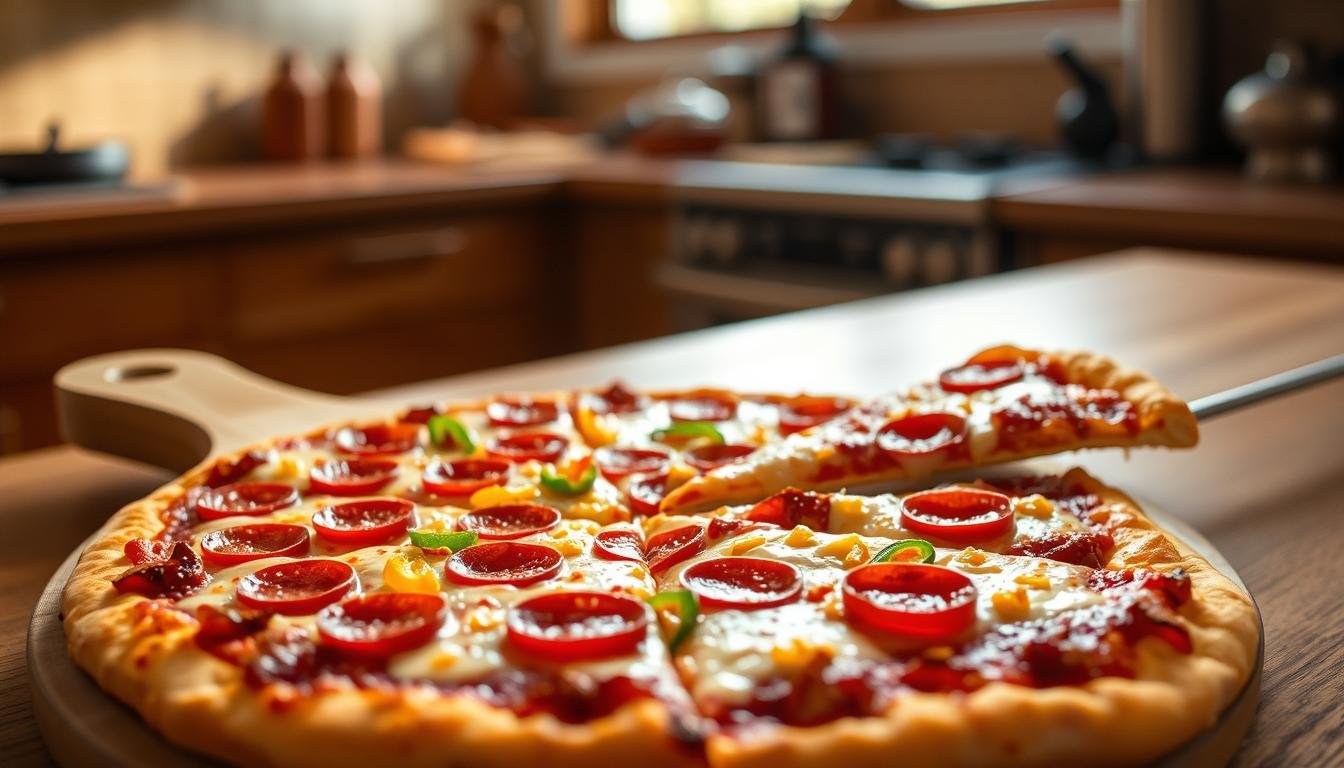
Achieving the Perfect Crispy Bottom

We shape the dough into a tight ball and roll it on parchment until it is paper thin. This ensures even baking and a consistent texture across every piece.

A close-up image of a thin crust pizza, freshly baked with a golden-brown crust. The pizza features a rich tomato sauce base, generously topped with melted mozzarella cheese, vibrant bell peppers, and sliced olives, arranged artfully. In the foreground, the pizza is elegantly cut into slices, showcasing its crispy texture. The middle ground captures a wooden pizza peel positioned beside the pizza, dusted with flour, indicating a home kitchen setting. Soft, warm lighting highlights the gooey cheese and adds an inviting glow to the crust. The background is blurred, revealing hints of a rustic kitchen with a pizza stone and a hint of greenery, emphasizing a cozy atmosphere. The overall mood is warm and inviting, ideal for culinary enthusiasts.

Preheat the oven and pizza stone to 450 degrees so the bottom sears quickly. High heat creates the airflow and surface crisp that make the difference between chewy and crisp.

  • Bake for 12–15 minutes to get golden cheese and a nicely browned crust.
  • Use a perforated pizza wheel or stone to let air move under the dough for a crisp bottom.
  • Layer cheese and toppings sparingly so the crust remains thin and does not get weighed down.
  • Let the bake cool for 3–5 minutes before slicing into squares for the best serving pieces.
Step Detail Result
Shaping Roll on parchment until paper-thin Even bake, crisp base
Heat Preheat to 450 degrees Quick sear, crunchy bottom
Baking time 12–15 minutes Golden cheese, brown crust

Serving Suggestions for the Perfect Slice

A warm, well-baked slice pairs best with a cool, crisp salad for contrast. We like a bright side of greens to cut the richness of real mozzarella and savory sauce.

For a playful twist, lay the salad over a single slice to make a salad pizza. Cut every piece into uniform squares so each guest gets a balanced portion.

Enjoy the crust pizza right away while the cheese stays melted. If you want help with nutrition or dietary planning, call professionals at 1-866-844-2273 for guidance.

We hope you share these homemade thin crust pizzas with family and enjoy the mix of fresh toppings and crunchy crust after baking. Serve within minutes for the best result.

FAQ

What makes our version of the thin crust pizza different from other homemade recipes?

We focus on a lighter dough and a higher oven temperature so the base stays crisp while the center remains tender. We use real mozzarella, a simple tomato sauce, and layered toppings that bake quickly, producing a bakery-style slice without long proofing times.

Which flour should we choose to get the ideal crust texture?

We recommend high-protein bread flour for better gluten development and chew. All-purpose flour can work for a softer bite. The right flour, combined with a short rest and correct hydration, delivers a thin, crisp bottom and a slightly chewy edge.

How do we prepare a flavorful sauce that complements the cheese and toppings?

We keep the sauce bright and balanced: crushed tomatoes, a touch of salt, olive oil, garlic, and dried oregano. Simmer briefly or use it raw for a fresher taste. The sauce should be spread thinly so it doesn’t weigh down the dough.

What steps help us achieve a perfectly crispy bottom without burning the crust?

We preheat a pizza stone or heavy baking steel at the highest oven setting for at least 45 minutes. Roll the dough thin, use minimal sauce, and bake on the preheated surface. Rotate halfway to ensure even color and remove when the cheese bubbles and the underside is golden.

How long should we bake a thin, homemade pie and at what temperature?

We bake at 500–550°F (260–290°C) for 6–10 minutes, depending on oven strength and thickness. A very hot surface shortens bake time and sharpens the crust texture, so watch closely after the five-minute mark.

Can we use frozen dough or should we make it fresh each time?

Both work. Fresh dough gives the best rise and flavor, but properly thawed frozen dough offers convenience with good results. Let frozen dough come to room temperature and relax before stretching for a more elastic, easy-to-shape base.

What cheeses pair best with our homemade sauce and dough?

We primarily use real mozzarella for its melt and mild flavor. Mixing low-moisture mozzarella with a little grated Parmesan or provolone adds depth. Keep the cheese layer moderate to prevent sogginess and allow the crust to crisp.

Which toppings bake best on a thin-style slice?

Thinly sliced meats, sautéed vegetables, and lighter cheeses perform best. Heavy or wet toppings, like fresh tomatoes or watery vegetables, should be pre-cooked or drained to maintain a crisp crust and well-cooked toppings in the short bake time.

How should we store and reheat leftover slices to preserve texture?

We recommend refrigerating slices in an airtight container for up to three days. Reheat in a hot skillet or on a baking steel at 375–400°F for 4–6 minutes to crisp the bottom and refresh the cheese, avoiding sogginess common with microwaves.

Do we need special equipment to make a restaurant-style thin-crust pie at home?

A pizza stone or baking steel and a peel help a lot, but a heavy baking sheet inverted and a hot oven can still deliver great results. A countertop mixer speeds dough prep, but hand-kneading works fine for smaller batches.

Similar Posts

  • Dominos Free Pizza

    We launched the Emergency Pizza program to help customers who face sudden problems and need a quick, hot meal. When life throws an emergency—like a broken oven or unexpected bills—our offer lets qualifying users claim a medium two-topping pizza with a qualifying online order. We built this program so delivery can turn a tough day…

  • Dominos Pizza Sizes

    We created this quick guide to help you pick the right option for your next meal. We break down common dimensions and servings so you can choose what matches your gathering or a quiet night in. Navigating the menu at a domino pizza location can feel overwhelming. Our page simplifies the choices and compares surface…

  • Dominos Pizza Menu

    We welcome you to start your order at our local domino in Bear, DE and explore options made for every appetite. Our team serves a broad selection of pizza crafted with consistent care. We focus on quality ingredients and fast, friendly service so every domino pizza reaches you hot and fresh. Whether you want a…

  • Dominos Carry Out Deals

    We open with a clear goal: help you save on pizza and quick meals. Our guide shows how to use carryout specials and rewards to lower costs for regular orders. We explain the most popular offers like the $7.99 special and the $6.99 Mix & Match bundle. We also cover the rewards program that gives…

  • Dominos Taco Pizza

    We are excited to share our version of the famous Dominos Taco Pizza, a simple, savory dish you can make at home. This introduction explains what to expect from our copycat recipe and why the chicken taco pizza remains a crowd favorite. Our recipe recreates the domino chicken taco experience using fresh chicken, bold sauce,…

Leave a Reply

Your email address will not be published. Required fields are marked *